Rubyの環境構築
1. Command Line Toolsをインストール
Command Line Toolsのインストール$ xcode-select --install
パスを確認
$ xcode-select --print-path
"インストール"を選択し、規約の同意後にインストール開始
※Xcodeは今回の目的でない為、入手しない

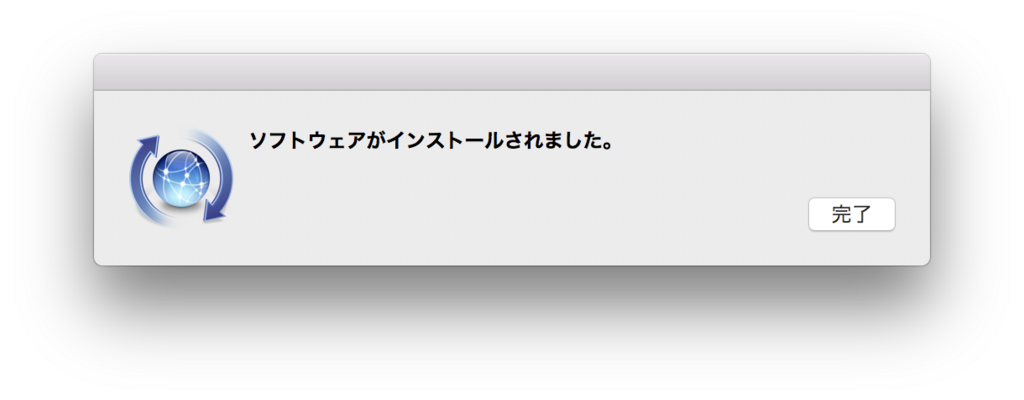
インストール完了
既にXcodeがインストール済みの場合
Command Line Toolsが2つ存在する為、念のため切替$ sudo xcode-select --switch /Library/Developer/CommandLineTools/
確認
$ xcode-select --print-path
/Library/Developer/CommandLineTools/ であればOK
XcodeのCommand Line Toolsへ戻す場合
$ sudo xcode-select --switch /Applications/Xcode.app
2. HomeBrewのインストール
公式サイトよりコマンドを入手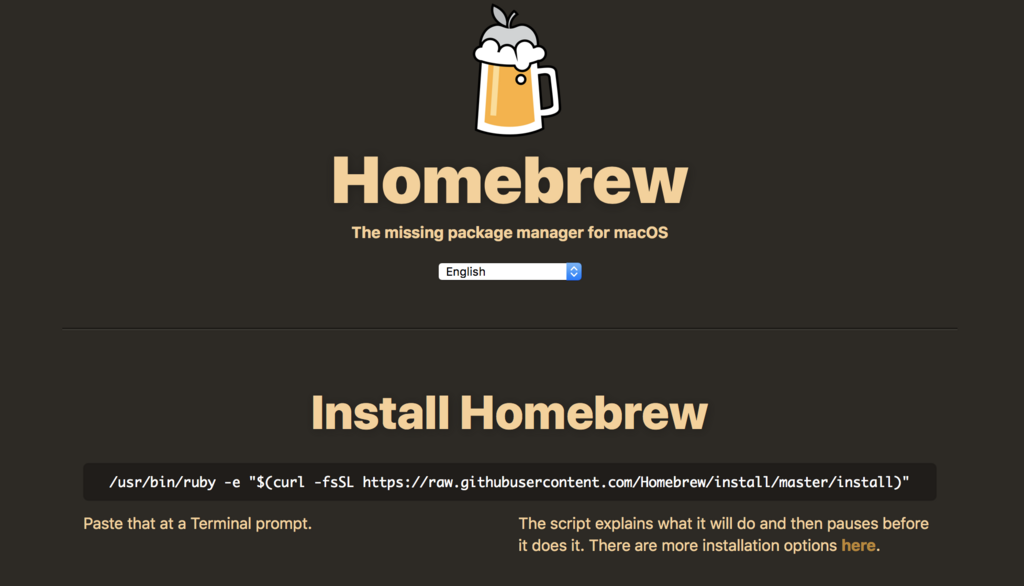
入手したコマンドをターミナルで実行
/usr/bin/ruby -e "$(curl -fsSL https://raw.githubusercontent.com/Homebrew/install/master/install)"
Enterキーを入力
Press RETURN to continue or any other key to abort
PCログイン用のパスを入力
Password:
インストール成功
==> Installation successful!

==> Homebrew has enabled anonymous aggregate user behaviour analytics.
Read the analytics documentation (and how to opt-out) here:
  https://docs.brew.sh/Analytics.html

==> Next steps:
- Run `brew help` to get started
- Further documentation:
    https://docs.brew.sh
バージョンの確認
$ brew -v
Homebrew 1.4.1
設定ファイルへパスを通す
$ echo 'export PATH=/usr/local/bin:$PATH' >> .bash_profile
再読み込み
$ source ~/.bash_profile
3. rbenvのインストール
rbenvのインストール$ brew install rbenv
インストール完了
==> Summary
🍺  /usr/local/Cellar/openssl/1.0.2n: 1,792 files, 12.3MB
==> Installing rbenv dependency: ruby-build
==> Downloading https://github.com/rbenv/ruby-build/archive/v20171226.tar.gz
==> Downloading from https://codeload.github.com/rbenv/ruby-build/tar.gz/v201712
######################################################################## 100.0%
==> ./install.sh
🍺  /usr/local/Cellar/ruby-build/20171226: 373 files, 191.3KB, built in 3 seconds
==> Installing rbenv
==> Downloading https://homebrew.bintray.com/bottles/rbenv-1.1.1.high_sierra.bot
######################################################################## 100.0%
==> Pouring rbenv-1.1.1.high_sierra.bottle.tar.gz
🍺  /usr/local/Cellar/rbenv/1.1.1: 36 files, 62.7KB
バージョンの確認
$ rbenv -v
rbenv 1.1.1
設定ファイルへPATHを通す
$ echo 'export PATH="$HOME/.rbenv/bin:$PATH"' >> .bash_profile
$ echo ‘eval “$(rbenv init -)“’ >> ~/.bash_profile
設定ファイルを再読み込み
$ source ~/.bash_profile
再読み込みの完了
-bash: /Users/ユーザ名/.bash_profile: line 1: syntax error near unexpected token `('
-bash: /Users/ユーザ名/.bash_profile: line 1: `‘eval “export PATH="/Users/ユーザ名/.rbenv/shims:${PATH}" export RBENV_SHELL=bash source '/usr/local/Cellar/rbenv/1.1.1/libexec/../completions/rbenv.bash' command rbenv rehash 2>/dev/null rbenv() { local command command="$1" if [ "$#" -gt 0 ]; then shift fi case "$command" in rehash|shell) eval "$(rbenv "sh-$command" "$@")";; *) command rbenv "$command" "$@";; esac }“’'
4. Rubyのインストール
インストールできるバージョンの確認$ rbenv install -l
公式ページより安定版を確認の上、今回は最新の2.5.0でインストール
※数分かかるので放置
$ rbenv install 2.5.0
インストールの完了
ruby-build: use openssl from homebrew
Downloading ruby-2.5.0.tar.bz2...
-> https://cache.ruby-lang.org/pub/ruby/2.5/ruby-2.5.0.tar.bz2
Installing ruby-2.5.0...
Installed ruby-2.5.0 to /Users/lunaten/.rbenv/versions/2.5.0
バージョンの確認
$ ruby -v
ruby 2.3.3p222 (2016-11-21 revision 56859) [universal.x86_64-darwin17]
Rubyの標準バージョンを設定
$ rbenv global 2.5.0
5. Railsのインストール
Bundlerのインストール$ gem install bundler
インストールの完了
Fetching: bundler-1.16.1.gem (100%)
Successfully installed bundler-1.16.1
Parsing documentation for bundler-1.16.1
Installing ri documentation for bundler-1.16.1
Done installing documentation for bundler after 2 seconds
1 gem installed
バージョンの確認
$ bundler -v
Bundler version 1.16.1
Railsのインストール
$ gem install rails
インストールの完了
Done installing documentation for concurrent-ruby, i18n, thread_safe, tzinfo, activesupport, rack, rack-test, mini_portile2, nokogiri, crass, loofah, rails-html-sanitizer, rails-dom-testing, builder, erubi, actionview, actionpack, activemodel, arel, activerecord, globalid, activejob, mini_mime, mail, actionmailer, nio4r, websocket-extensions, websocket-driver, actioncable, thor, method_source, railties, sprockets, sprockets-rails, rails after 41 seconds
35 gems installed
リハッシュする
※~/.rbenv/versions/x.x.x/bin/下のコマンドを~/.rbenv/shims/ へ複製する
$ rbenv rehash
バージョン確認
$ rails -v
Rails 5.1.4
6. アプリケーションの作成
ディレクトリを作成$ mkdir rails
ディレクトリへ移動
$ cd rails
アプリケーションを作成
$ rails new sample
アプリケーションへ移動
$ cd sample
サーバーを起動する
rails s
http://localhost:3000へアクセス

サーバーを終了する
"Ctrl + C"キーを入力
iOS7 β版、Xcode5デベロッパー版の配布開始
6月10日 WWDC2013にてiOS7を同年秋頃にリリースすることを発表しました。
デベロッパーの方は今日からベータ版でiOS7を体感することができます。
iOS7のインターフェースについては動画でどうぞ。
デザインが一新されて美しくなりました。
その他にも魅力的な機能が追加されていますので是非チェックしてみてください。
http://www.itmedia.co.jp/mobile/articles/1306/11/news039.html
iOS Dev Center 登録
iOS Dev Centerの登録をします。
登録にさしあたって住所入力がありますので、英語が苦手な方は先に翻訳しておくと手間がかからないと思います。 下のサイトはおすすめです。
[住所簡単翻訳]
http://www.takewari.com/address_translation.html
では早速、
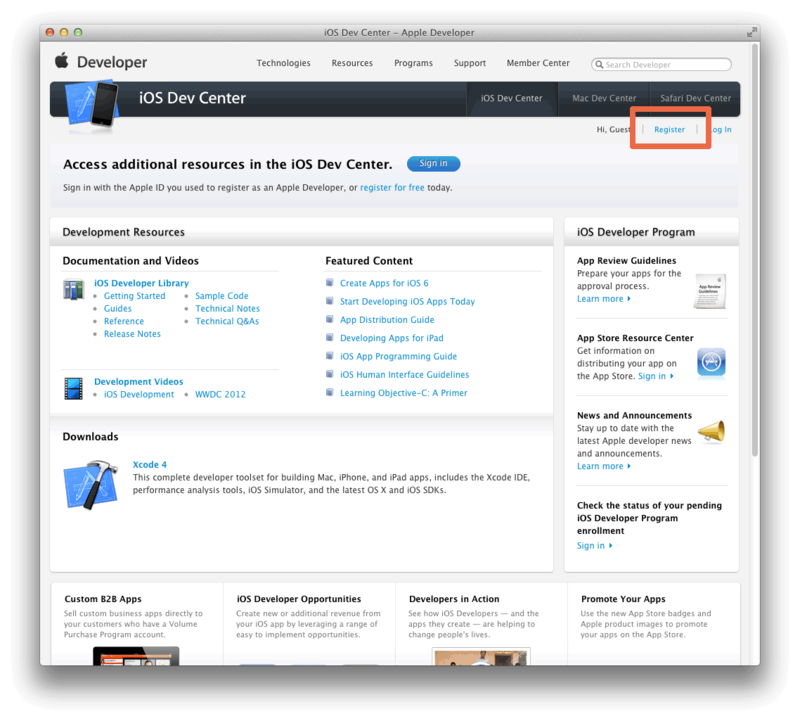
[iOS Dev Center]にアクセスします。
https://developer.apple.com/devcenter/ios/index.action
※セッションの時間切れがあるので、なるべくささっとやるのがポイントです。
※入力項目への貼り付けはできませんので直接入力してください。
①画面右上の「Register」をクリックします。
②今回は新たにApple IDの登録を行うので、「Create Apple ID」ボタンをクリックします。
※既にお持ちのAppleIDは日本語で情報登録されているかと思いますので、開発用に別途作成されることをおすすめします。

③登録画面に遷移しますのでページを下にスクロールして下さい。

④「Country/Region」の入力ボックスに"Japan"と入力します。
(入力途中で自動的に「Japan」が出てきますので選択してもいいです。)
一度入力フォーム外の何もないところをクリックして、ページが再ロードされるまで待ちます。

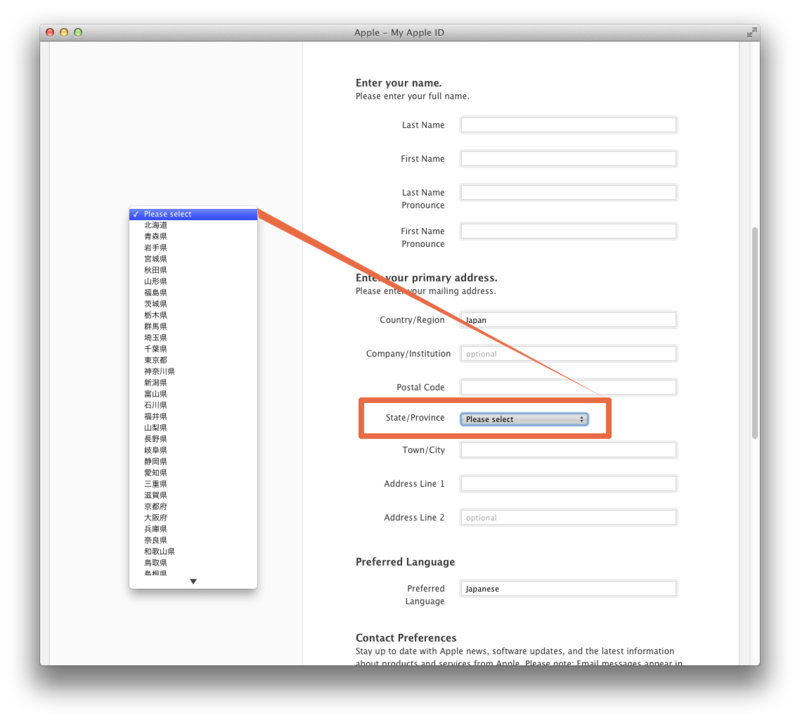
⑤ページが再ロードされると、2つ下の「State /Province」のコンボボックスの内容が日本国内に切り替わります。クリックしてご自分の都道府県を選んでください。
⑥その他の入力も英語で入力します。
[入力例]
■Choose Apple ID and Password.
Apple ID:sample@xxx.ne.jp(お持ちのメールアドレス)
Password:パスワード(半角8文字以上で数字、大文字を1文字ずつ含める)
Confirm Password:パスワード再入力
■Create a security question.
Sequrity Question:セキュリティ質問(パスワードを忘れたときの為のもの)
Answer:質問に対する答え
■Select your birth date.
:Mounth.31.2000
■Enter your name.
First Name:Taro
Middle Name:(任意)
Lase Name:Yamada
■Enter your primary address.
Country Redion:Japan
Company/Institution:会社名(任意)
Postal Code:郵便番号
State/Province:都道府県
Town/Sity:市区
Address Line 1:町村、番地
Address Line 2:アパート、マンション(任意)
■Preferred Language
Preferred Language:Japanese
終わったら下部にある画像パスワードを入力し、同意にチェックをします。
「Create Apple ID」ボタンを押し、Apple IDを作成します。

⑦登録したメールアドレスに仮登録メールが届きます。
この画面を閉じ、メールに記載されたリンクを開きましょう。
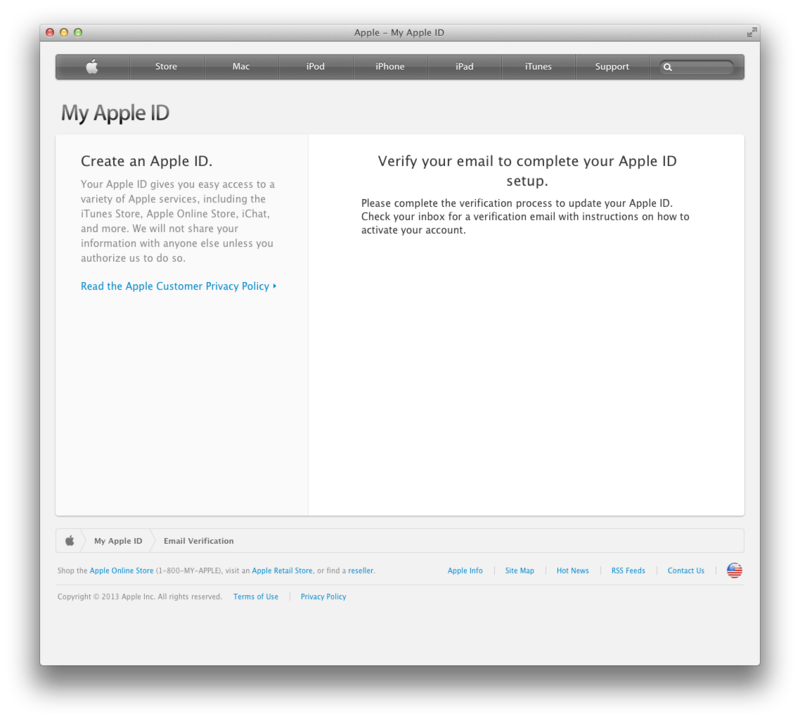
⑧リンク先のページを開き、登録したメールアドレスとパスワードを入力し、「メールアドレスの確認」ボタンをクリックします。
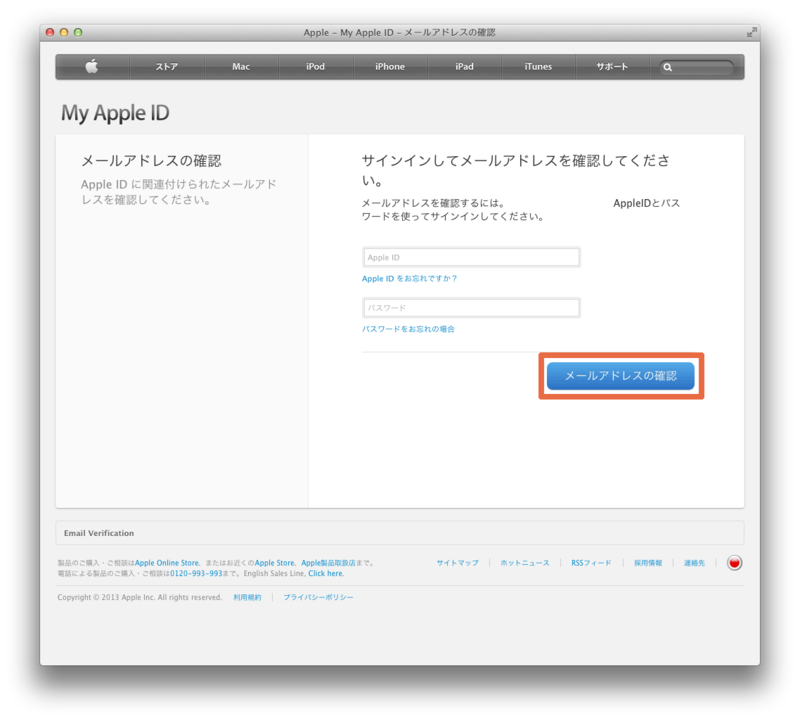
⑨これでiOS Dev Centerの登録が完了しました。

Xcode4のインストール要件
| v4.0 | v4.1 | v4.2 | v4.3 | v4.4 | v4.5 | v4.6 | |
| Mac OS X 10.6 Snow Leopard | ○ | ○ | ○ | × | × | × | × |
| Mac OS X 10.7 Lion | - | ○ | ○ | ○ | ○ | ○ | ○ |
| Mac OS X 10.8 Mountain Lion | - | - | - | - | ○ | ○ | ○ |